
How to Wash and Stain your Yard’s Wood Fence the First Time
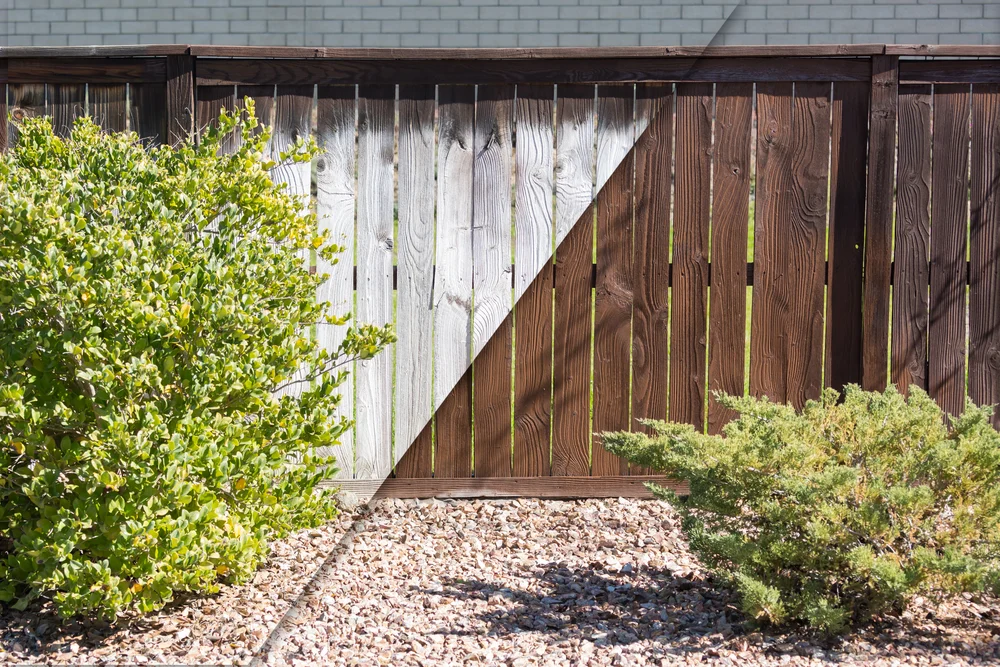
Fences can be a great thing for any yard. They provide privacy and security for your home. However, if you do not take care of your wood fence, it can quickly go from looking great to shambles. This is why it is important to keep your fence maintained. One important thing that you will need to do from time to time stain the wood. This is one of the easiest and best ways to keep it in the best shape. After all, you likely paid a lot of money to install the wood fence, so you do not want to have to replace it.
When it comes to wooden fences, it is typically recommended that instead of trying to paint the fence, you use a stain instead. The stain will penetrate the wood better than the paint can. As a result, painting a wooden fence will require more maintenance and typically gives results that are less attractive. Staining is not difficult to do, so there is no reason to be intimidated if this is your first time tackling this type of project.
Why Should You Stain Your Deck?
One of the most important aspects of owning a home is taking care of it. This means maintaining the property and ensuring that everything is in good condition. One of the most important features of a home is the fence. A fence can make the property look great and it can also add privacy.
There are a few things that you can do to maintain your fence and keep it looking great. One of the most important is to wash it. This can be done with a garden hose and some soapy water. You should also stain it every few years. This will help to protect the wood from the elements and it will also help to keep it looking new.
Staining your fence is a great way to keep it looking new. It will also protect the wood from the elements. There are a few things that you will need to do before you start staining your fence. The first is to make sure that the fence is clean. This means that you will need to wash it with a garden hose and some soapy water.
Here are the proper steps for staining your wooden fence.
How to Prep
Before you start on your staining project, the first thing that you need to do is make sure that the wood is ready for stain. If the fence was recently installed, it is important to make sure that you give the new wood time to dry before you start your project. If your fence is older, there is a good chance that there is dirt, mold, and possibly other contaminants that you will need to get rid of before you stain the wood. You can clean the fence using a pressure washer and then let the wood dry completely.
Think About The Weather
When you decide to stain your fence you are going to want to make sure there is no rain or other type of precipitation in the forecast over the next several days. Additionally, you should make sure that the temperature is going to remain over 50 degrees F.
What Tools You’ll Need
It is important to make sure that you have the proper tools for the project. You will need a paint roller that has a rough surface cover and a staining brush. The roller is going to get most of the stain on your fence, but the brush allows you to reach areas that the roller will not be able to get.
It is important to note that staining brushes are different than paintbrushes. These brushes are larger and have bristles that are wider. Most paintbrushes cannot handle stains and will be ruined quickly by the stain. You should also have some plastic sheets available to put over your plants and any areas that are close to your house so that you do not get a stain on them.
Sandpaper is another thing that you will want to have on hand when you start your project as you will want to smooth out the wood before you start putting the stain on.
You may be tempted to use a sprayer instead of a roller and paintbrush. However, a sprayer is not really going to save you much work or time. Typically, a sprayer is not going to provide consistent or complete coverage, which means that the final look is not going to be as good as it could be.
Choosing the Stain
When you are choosing a stain to use, picking out the color is not the only thing that you should consider. You will need to look at what the stain is made from.
Oil-based stains are often the better choice than water-based stains. This is because an oil stain is going to last longer. Even when the stain starts to get old, it will not have the same chips and cracks that appear in water-based stains.
It is important to make sure that you test the stain on some scrap wood or an area of the fence that is hidden from view. Testing will ensure that you like the color that you have chosen and also will show you how the wood is going to react to the stain.
Start the Project
Once you have cleaned your fence and allowed it to dry, you will want to sand any rough areas before you apply the stain. Use full strokes of the brush and do one board at a time. If your fence is large you can work different areas of the fence while the other areas are drying.
If your fence is older and staining it does not help to restore it to a nearly new condition, it might be time to start thinking about installing a new fence.